
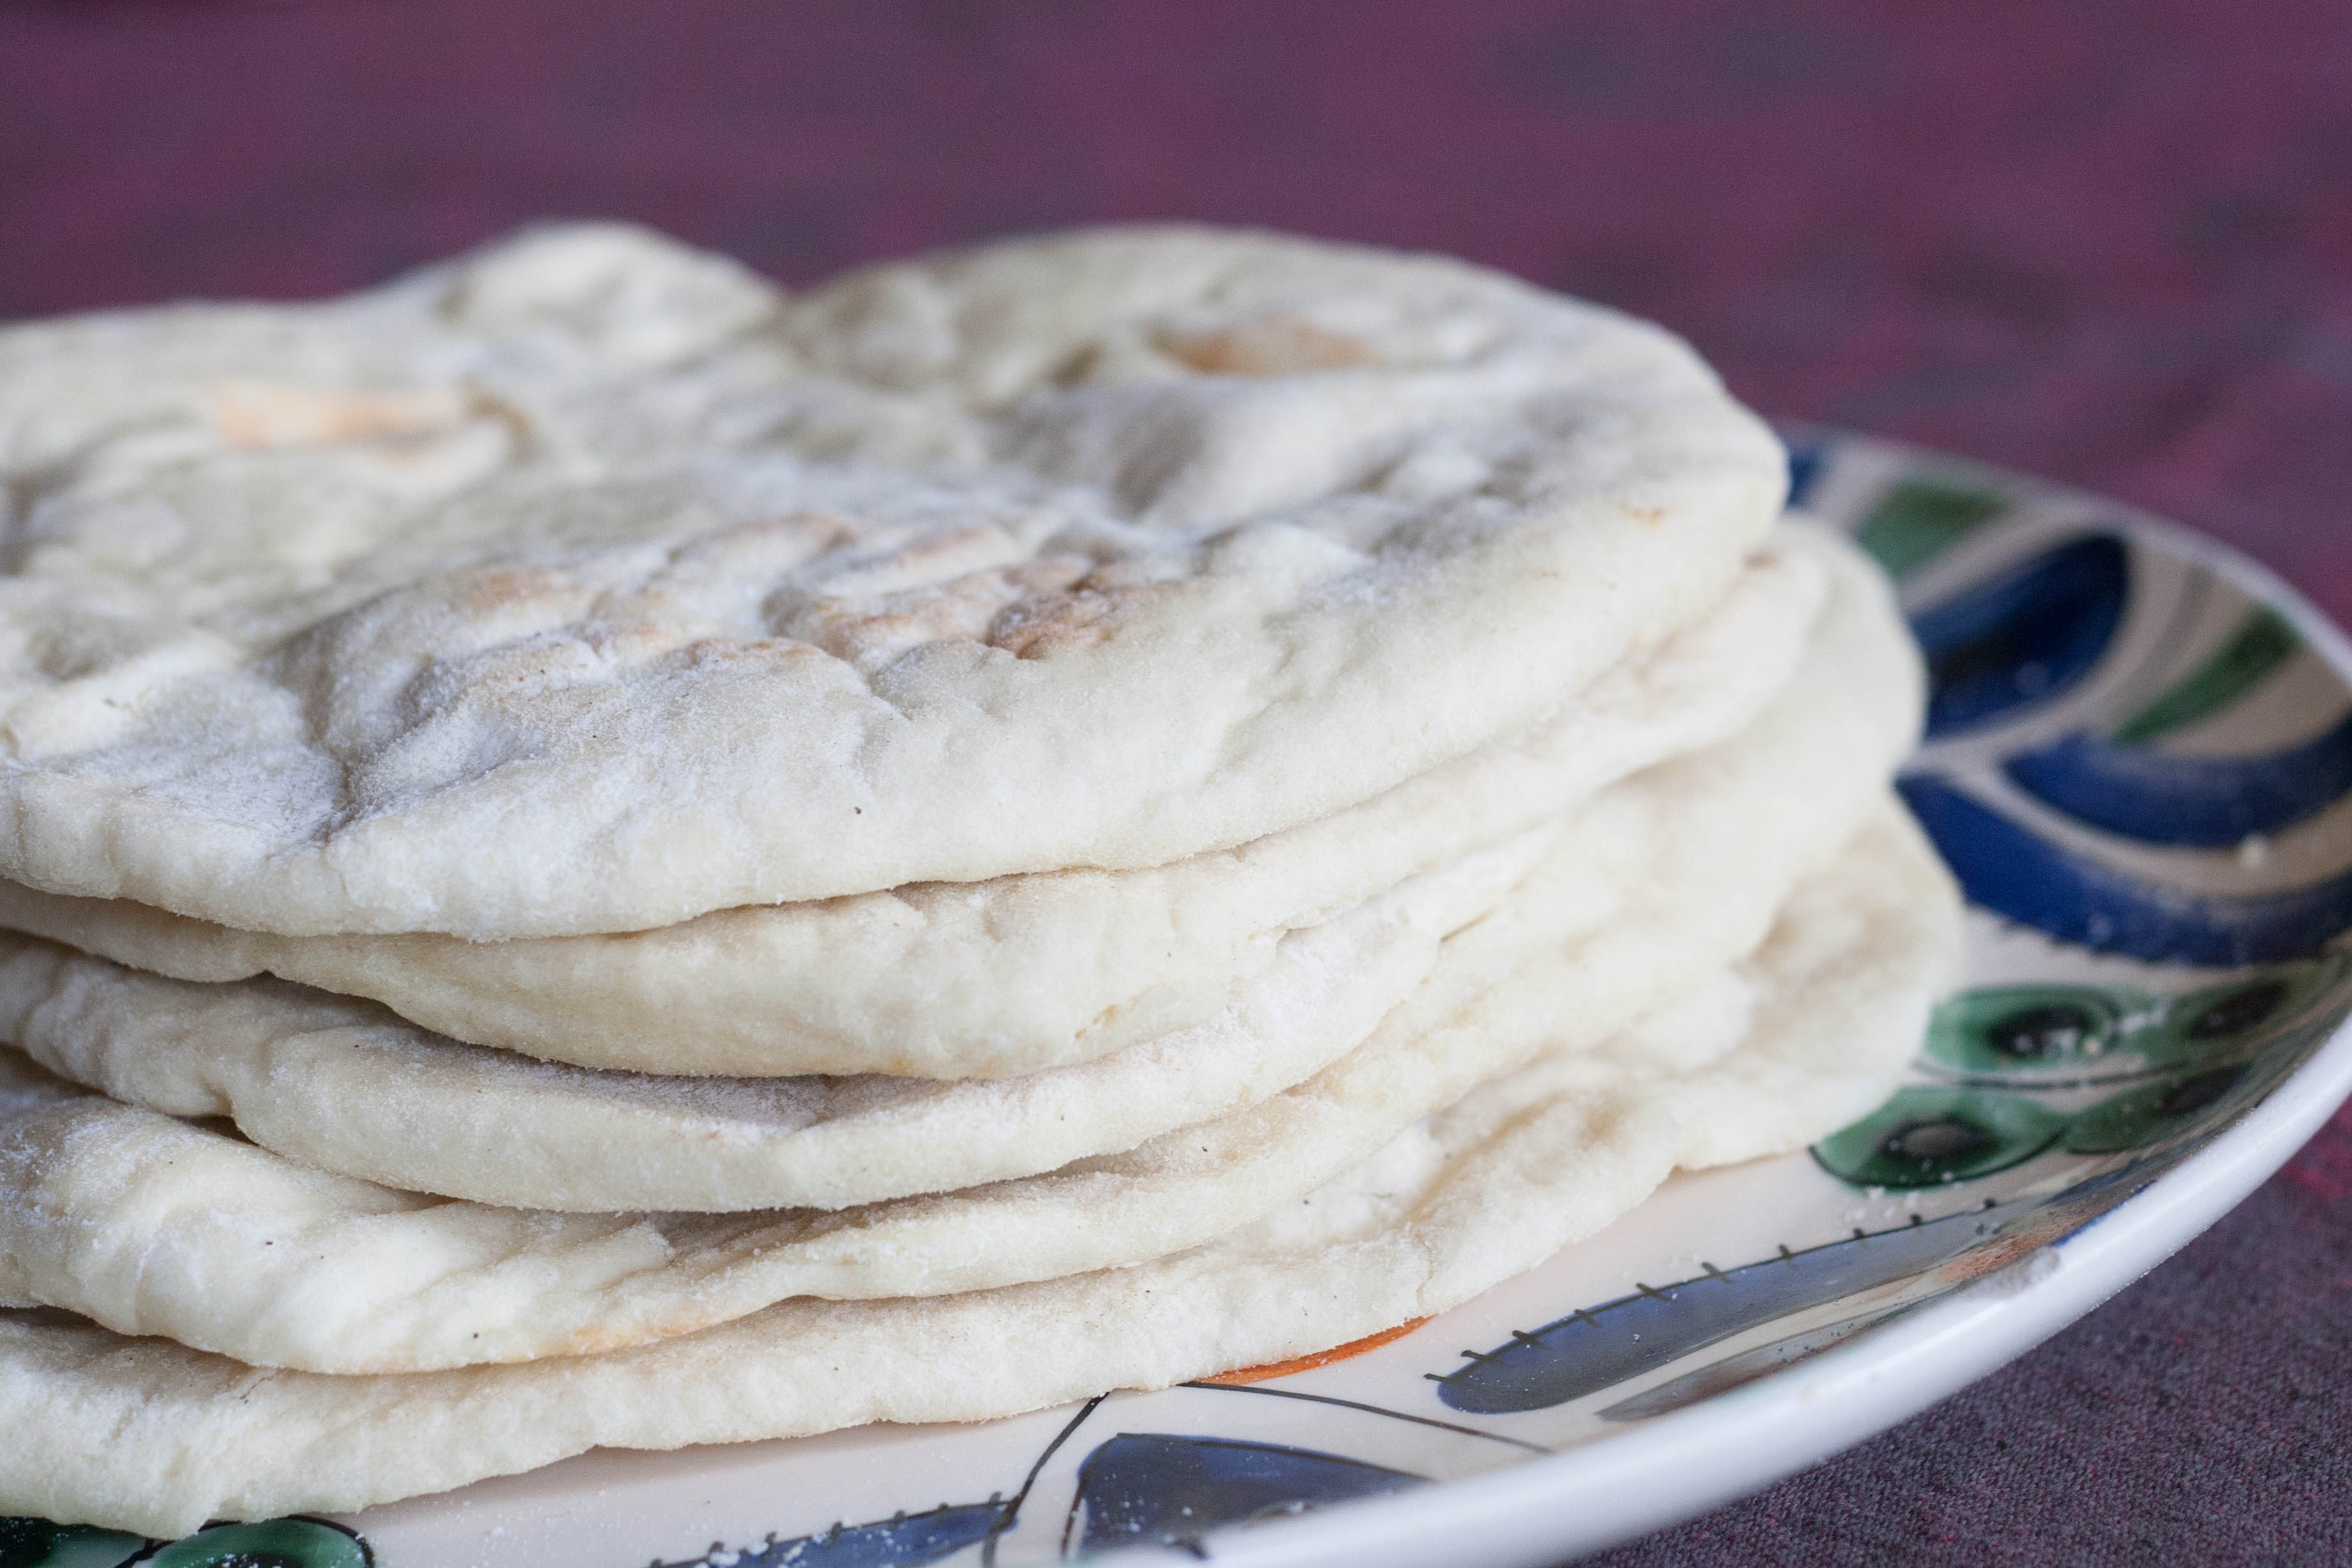
 One of the first breads I really mastered was homemade pita bread, and for good reason. It’s really simple, and for fresh bread, it’s also quite fast. And you get a lot of bang for your buck. There’s something about serving homemade bread at a dinner party that really wows guests like no other entree. I’m not exactly sure why, either, but hey, let’s go with it. It’s one of the many recipes that I learned from my sister, who is a talented baker as well as winemaker. She really pushed me to make homemade pita, citing it’s simplicity and big payoff in the style department. And she is so right! I love making homemade pita because it’s so warm and tender. Few store-bought pita breads can compare to warm, yeasty, fresh pita straight from the oven. It’s worth it, whether you serve it with store-bought or Homemade Hummus. It’s perfect for getting Middle Eastern Feasts and Jerusalem Cookbook Dinner Parties started. And if you have any leftovers, store them at room temperature and reheat them in the toaster. If they make it around the house long enough to become stale, first of all, I am shocked! but second of all, of course you can fry the homemade pita into the best pita chips you’ve ever had.
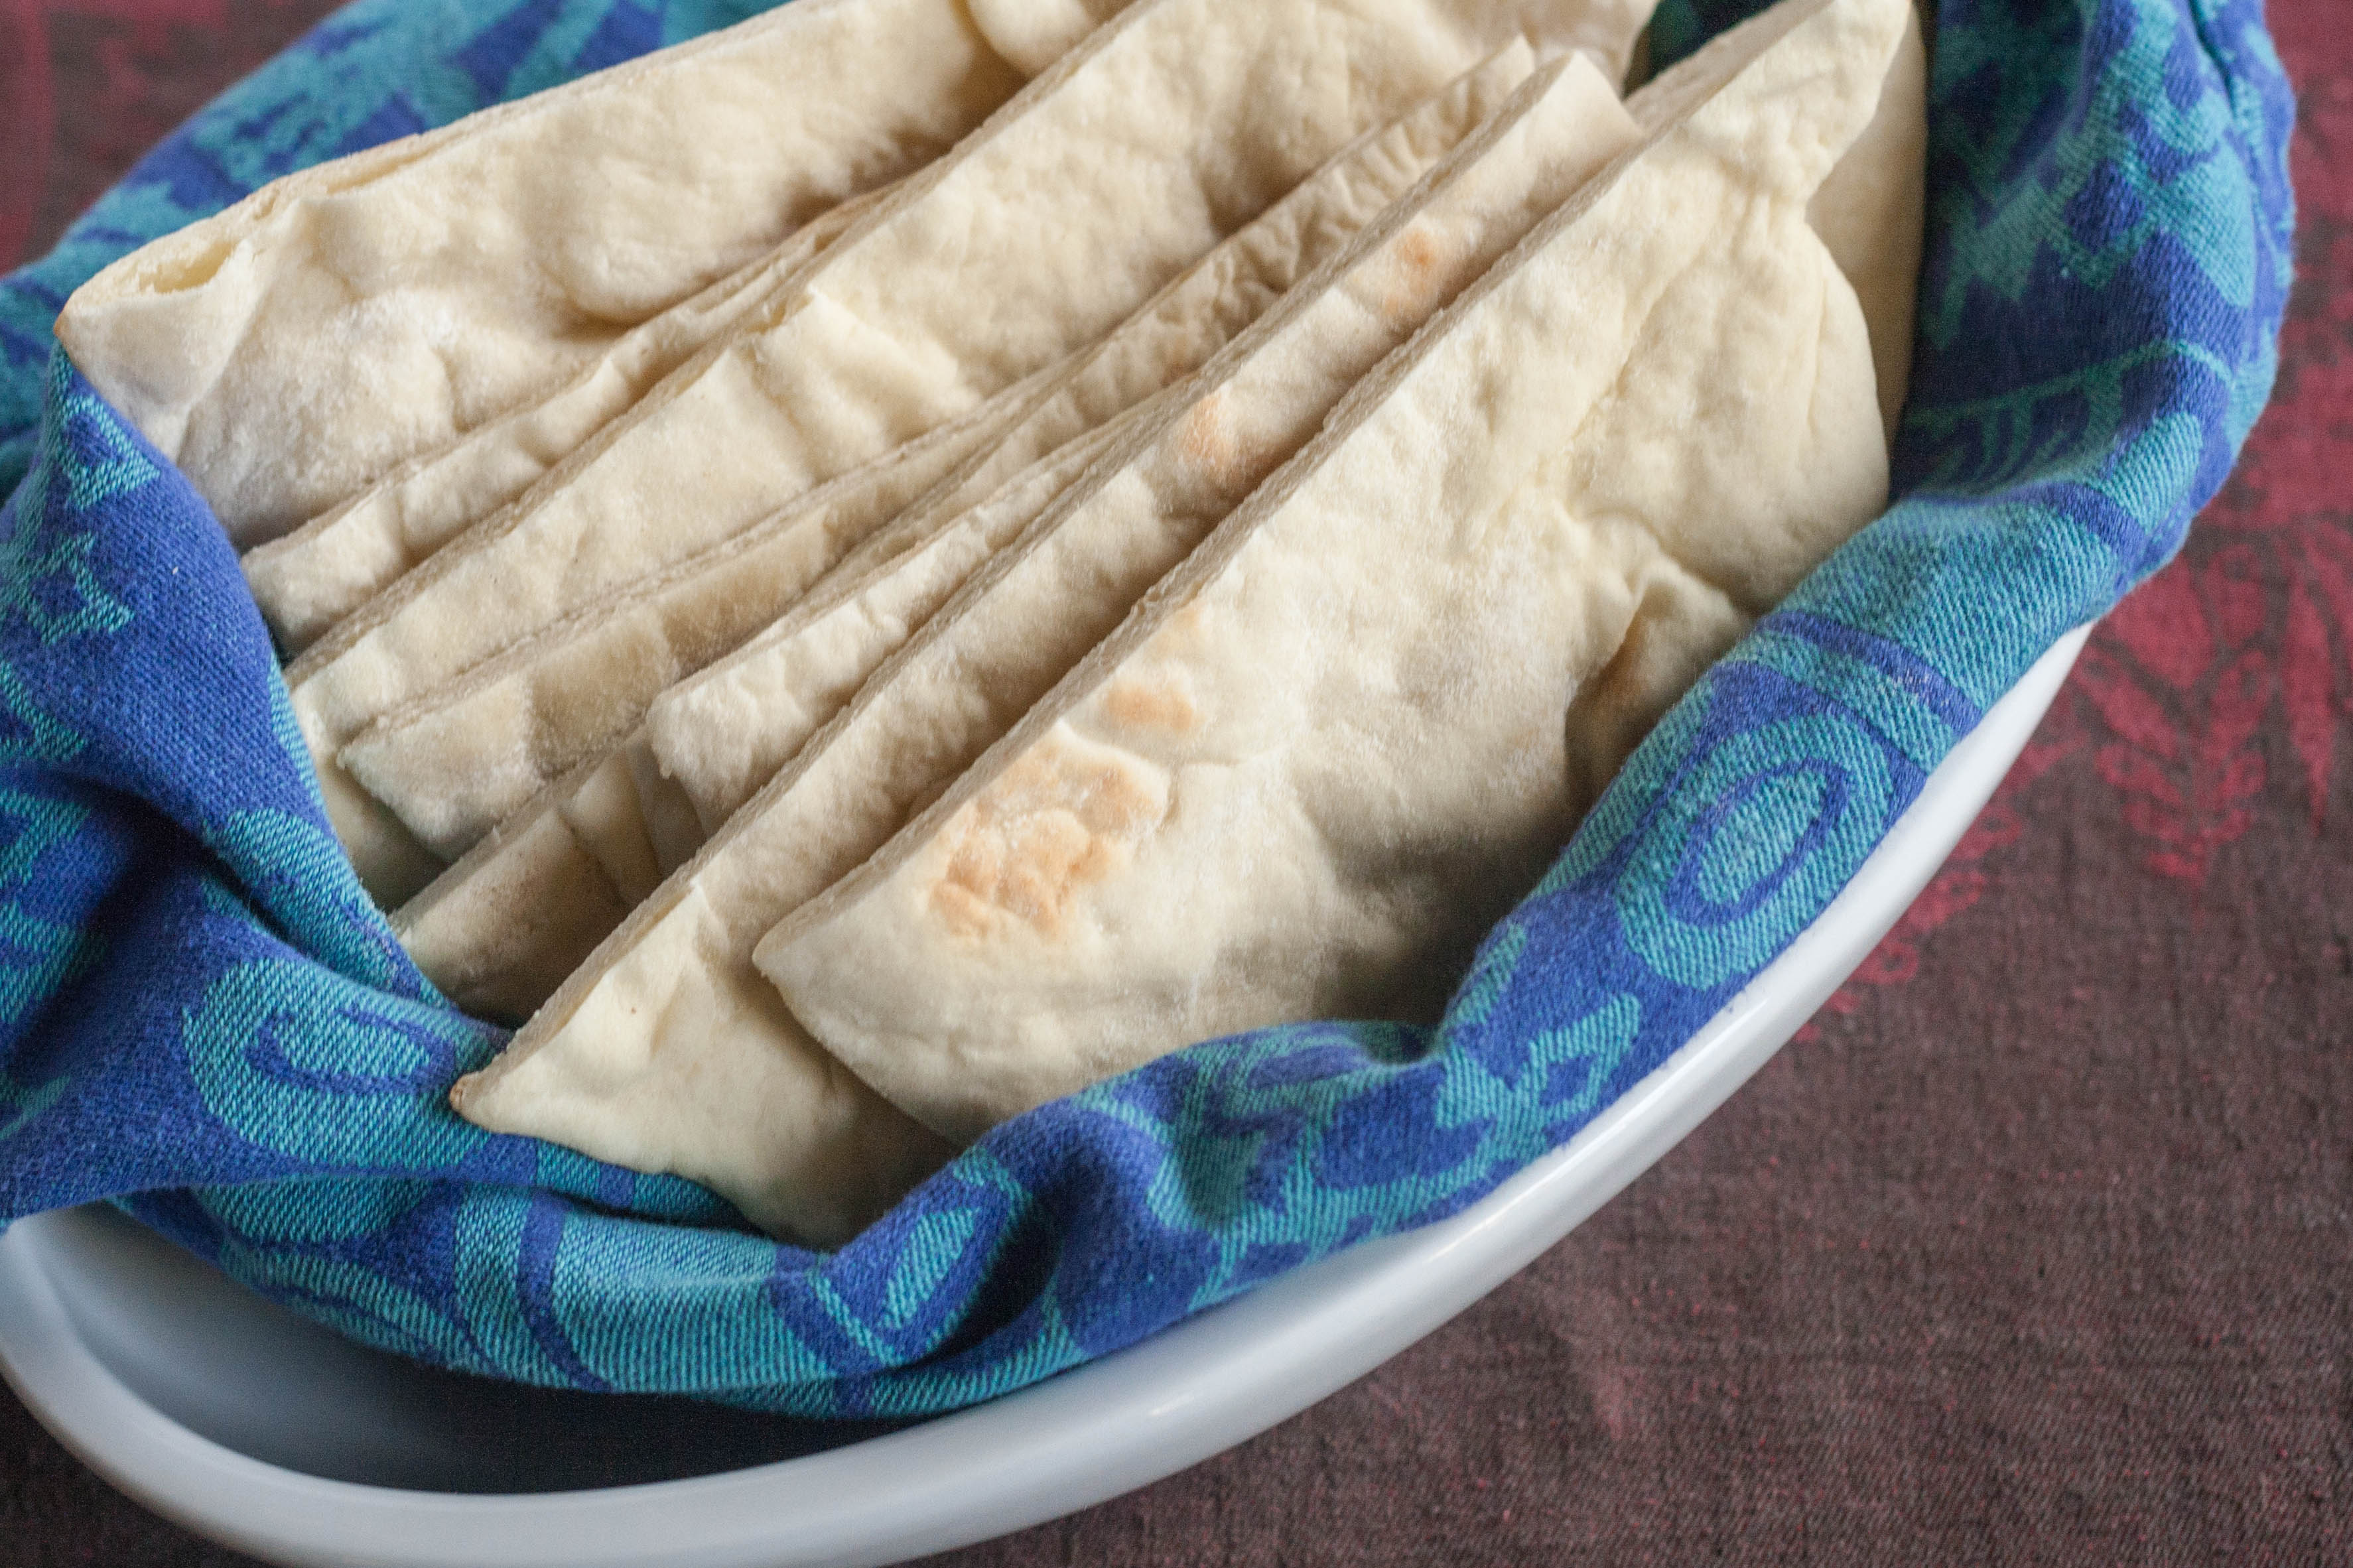
Homemade Pita Bread
Ingredients
- 3 cups flour I like to use bread flour because of its higher gluten level, but all-purpose works fine too
- 1½ teaspoons salt
- 1 tablespoon sugar add in with yeast
- 1 package 2¼ teaspoons yeast (I use red SAF instant but active dry is fine) Want a yeast lesson?
- 1¼- 1½ cups room temperature water
- 2 tablespoons olive oil
Instructions
- If you're using active dry yeast, follow the instructions on the packet to activate (or check out the yeast lesson). Otherwise mix yeast in with flour, salt and sugar.
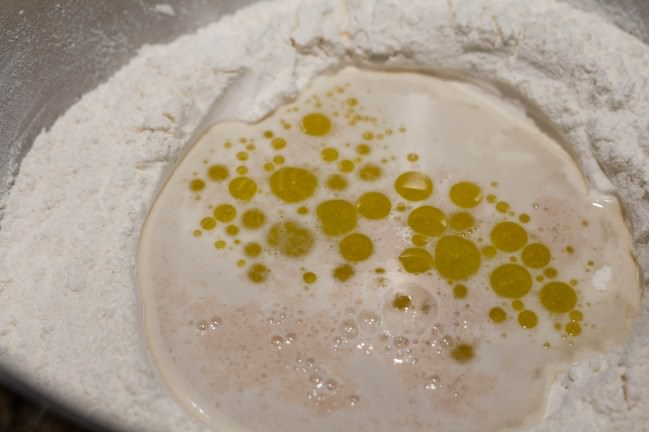
- Add olive oil and 1¼ cup water and stir together with a wooden spoon to form a ball (you may need additional water if it's not forming a ball).
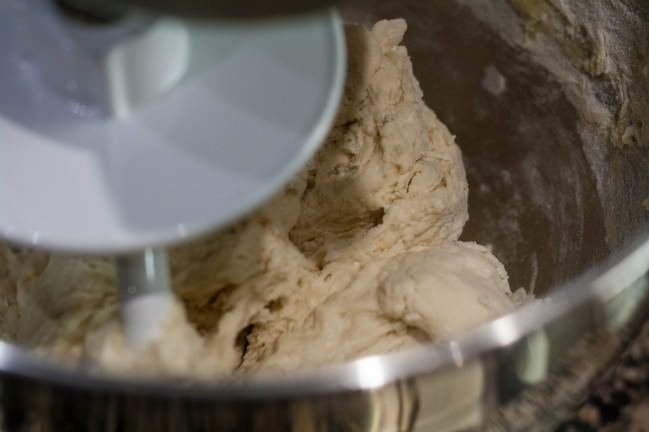
- Knead the dough either by hand or with a dough hook and electric mixer on low for about 10 minutes.
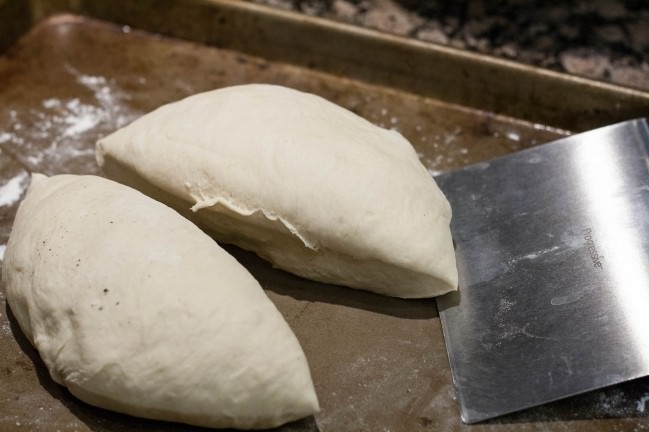
- Place the dough in a bowl lightly coated with oil and roll it around so the dough has a light coat of oil as well. Cover with plastic wrap or a damp kitchen towel and set it aside until it doubles (60-90 minutes). Punch it down and divide into 8 pieces. Roll each piece into a ball and cover them with a damp towel. Set aside to rest for 20 minutes (this allows the dough to relax so that it's easier to shape, but sometimes I skip this extra rest if the dough is being compliant).
- Preheat to 500° F. Place a baking stone or an upside-down cookie sheet in the oven on a middle to low rack. This is your baking surface.
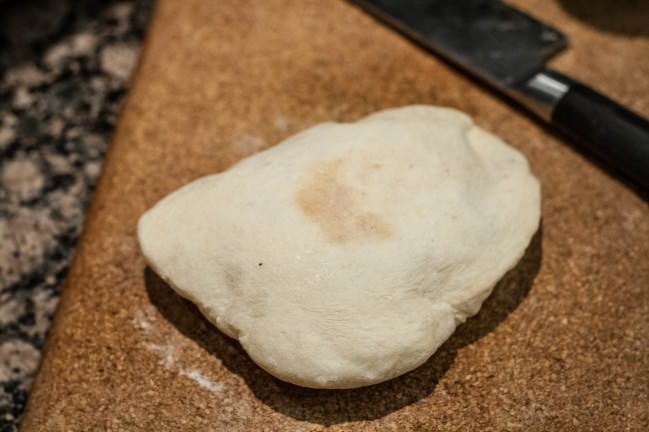
- Flour a pan or counter surface. Roll out the pitas (they should stretch easily) to between ⅛ and ¼ inch in thickness (if they're not stretching easily, allow them to rest another 5-10 minutes and try again). Rolling the pitas really thin and having the oven very hot before you start is a huge key to success.

- If you have a water spray bottle, you can mist the baking surface and then close the oven for about 30 seconds before setting your first pita on the stone. This is to reduce blistering on the surface of the pita, but I've never really noticed a big difference either way.
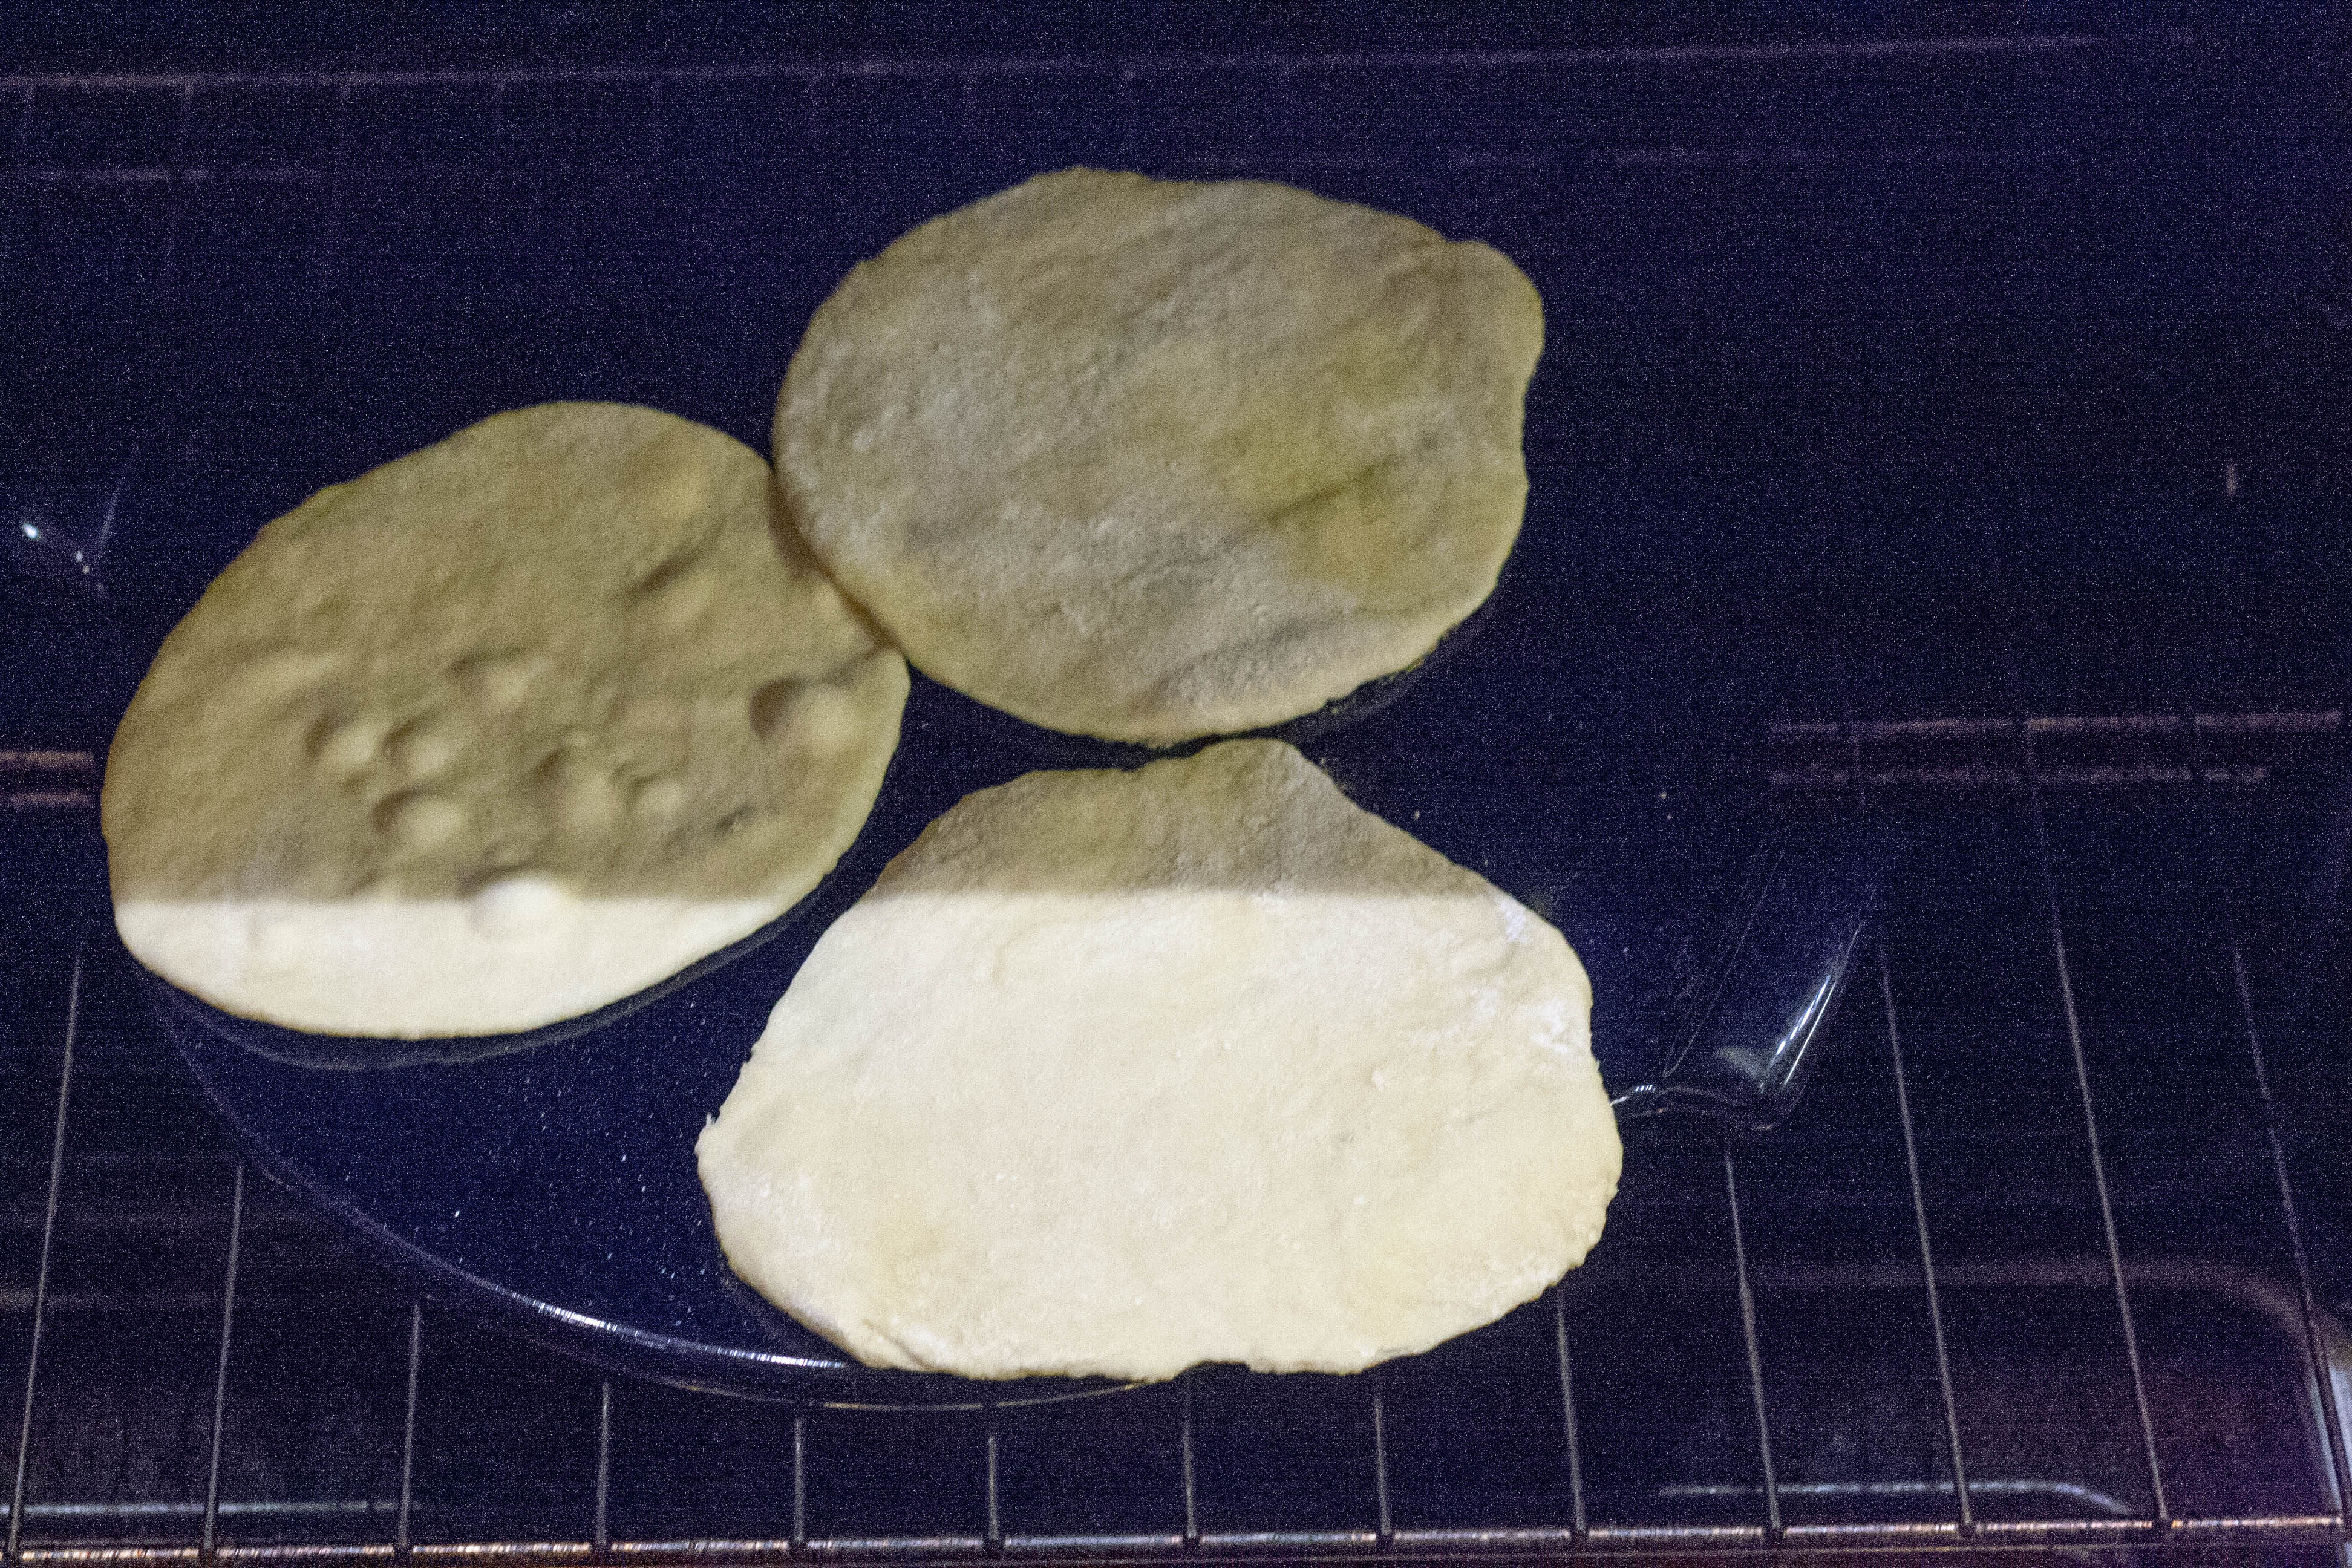
- Place as many rolled pitas on the baking surface as will fit.
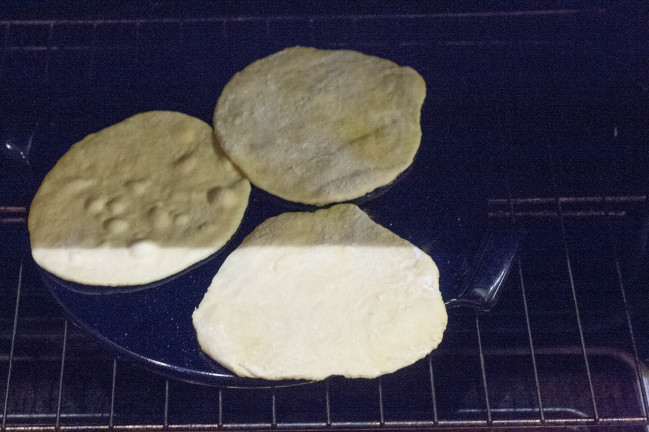
- Use your oven light to watch them as you want to keep the temperature as consistent as possible. They should puff up (and be baked through) in about 3 minutes.
 If you like them crispy and brown, add 3 more minutes.
Pingback: Hummus |
Pingback: Hummus | Dirty Laundry Kitchen